
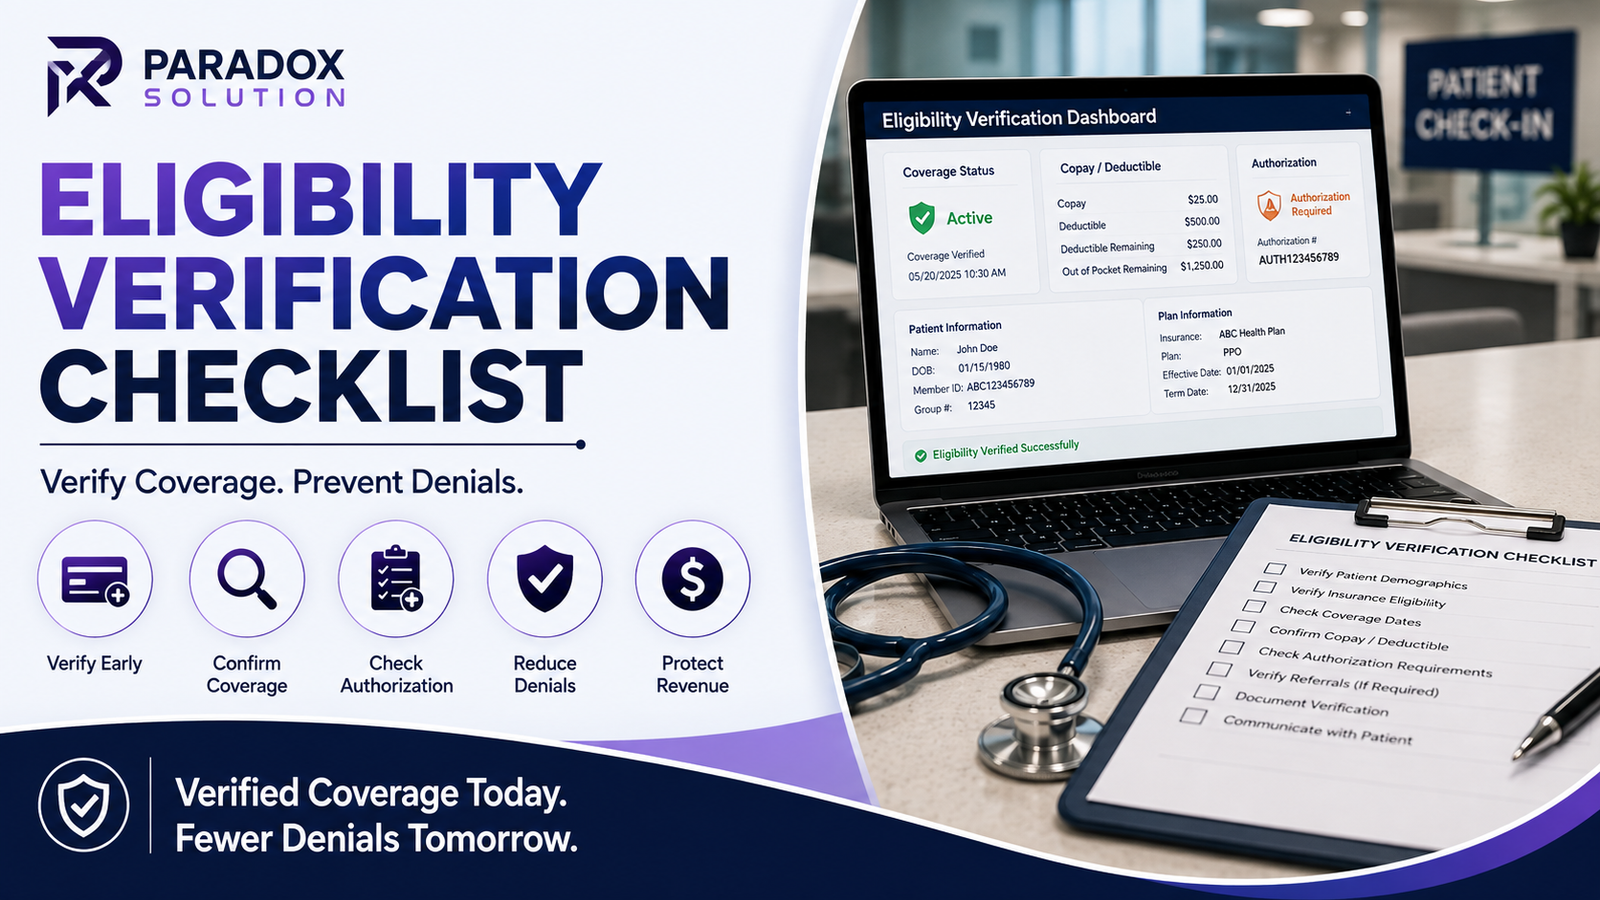
Eligibility Verification Checklist: 9 Steps That Actually Reduce Denials
If you’ve ever watched a clean-looking claim bounce back with a denial code, there’s a good chance the real problem happened weeks earlier — at check-in, before the patient even sat down. Most claim denials don’t start with a coding mistake. They start with a missed or rushed insurance check. That’s why every practice, big or small, needs a solid eligibility verification checklist built into daily workflow, not treated as an afterthought.
Eligibility verification simply means confirming a patient’s insurance is active, checking what services are covered, and finding out what the patient will owe before treatment happens. Skip this step, or do it halfway, and you’re setting up your billing team for rework, delayed payments, and awkward conversations with patients about surprise bills.
In this guide, you’ll get a step-by-step checklist, common mistakes to avoid, payer considerations, and tables you can use to train new staff. This isn’t theory — it’s the same process experienced revenue cycle teams use every day.
Why Eligibility Verification Matters More Than Most Practices Realize
Here’s a number that gets attention: industry data has consistently shown that a large share of claim denials trace back to registration and eligibility issues, not coding errors. When a practice skips verification or does it inconsistently, the cost shows up later as denied claims, delayed cash flow, and patients who are upset about bills they didn’t expect.
Think of eligibility verification as the foundation of the entire revenue cycle. If the foundation is shaky, everything built on top of it — coding, claim submission, payment posting — inherits that risk.
Why this matters for your bottom line:
-
- Clean claims get paid faster, which improves cash flow.
-
- Fewer denials mean less staff time spent on appeals and resubmissions.
-
- Patients trust practices that give them accurate cost estimates upfront.
-
- Front desk staff spend less time chasing information after the visit.
Quick Tip: A verification call or portal check that takes five minutes can save your billing team hours of rework down the line.
What Is Eligibility Verification, in Plain Language
Eligibility verification is the process of confirming, before a visit, that a patient’s insurance plan is active and that the specific service they need is covered under that plan. It also includes finding out the patient’s financial responsibility — things like copay (a fixed amount the patient pays per visit), deductible (the amount the patient must pay out of pocket before insurance starts covering costs), and coinsurance (the percentage the patient pays after the deductible is met).
Some people call this “verification of benefits,” often shortened to VOB. Others call it “insurance verification.” Same idea, different name depending on the practice or specialty.
The Complete Eligibility Verification Checklist
Use this table as your master checklist. Print it, laminate it, or build it into your front desk software — whatever gets your team using it consistently.
| Step | Task | Why It Matters |
|---|---|---|
| 1 | Collect current insurance card (front and back) | Old or expired cards are one of the top causes of eligibility errors |
| 2 | Confirm patient demographics match insurance record | Mismatched names or birthdates cause instant claim rejections |
| 3 | Verify active coverage dates | Confirms the plan is active on the date of service |
| 4 | Check plan type (HMO, PPO, EPO, etc.) | Determines referral and network rules |
| 5 | Confirm the specific service is covered | Prevents denials for non-covered services |
| 6 | Check if prior authorization is required | Avoids denials for missing authorization |
| 7 | Verify copay, deductible, and coinsurance amounts | Allows accurate patient cost estimates upfront |
| 8 | Confirm coordination of benefits (COB) if multiple plans exist | Determines which payer is primary vs. secondary |
| 9 | Document everything in the patient’s account | Creates a paper trail if a denial occurs later |
Prior authorization, by the way, is approval a payer requires before certain services are performed — think MRIs, certain surgeries, or specialty medications. Skipping this step is one of the fastest ways to get a hard denial that’s very difficult to appeal.
Step-by-Step: How to Actually Perform Eligibility Verification
Step 1: Gather Patient and Insurance Information Early
Don’t wait until the patient is standing at the front desk. Collect insurance details when the appointment is scheduled — over the phone, through an online portal, or via a pre-visit form. This gives your team time to catch problems before the visit, not during it.
Step 2: Use Real-Time Eligibility Tools
Most clearinghouses and practice management systems offer real-time eligibility checks, often called 270/271 transactions (the electronic format payers use to send and receive eligibility data). These checks pull live data directly from the payer, which is far more reliable than relying on what a patient tells you.
Step 3: Call the Payer When Needed
Real-time tools don’t catch everything — especially for benefits like out-of-network coverage, specific procedure codes, or unusual plan types. When the online check isn’t clear, a phone call to the payer’s provider services line is worth the ten minutes it takes.
Step 4: Document the Verification
Write down who you spoke to, the date, a reference or call number, and exactly what was confirmed. If a claim gets denied later and the payer says “that wasn’t covered,” this documentation can be the difference between winning and losing an appeal.
Step 5: Communicate Costs to the Patient
Once you know the copay, deductible status, and coinsurance, tell the patient before the visit. Nobody likes surprises, and clear communication reduces the number of unpaid patient balances later.
Eligibility Verification Timeline
| Timing | Action | Responsible Party |
|---|---|---|
| At scheduling | Collect insurance info | Front desk / scheduler |
| 2–3 days before visit | Run electronic eligibility check | Billing or front desk staff |
| 1 day before visit | Follow up on any unclear responses | Billing staff |
| Day of visit | Confirm card matches system, collect copay | Front desk |
| After visit | Update file if any changes occurred | Billing team |
Warning: Same-day verification is risky for high-cost procedures. If prior authorization is required and hasn’t been obtained, the visit may need to be rescheduled — which frustrates patients and delays revenue.
Common Eligibility Verification Mistakes (And How to Avoid Them)
| Mistake | Consequence | Prevention |
|---|---|---|
| Relying only on the patient’s memory of their plan | Inaccurate coverage assumptions | Always check the actual card and payer system |
| Skipping verification for returning patients | Coverage may have changed since last visit | Verify at every visit, not just new patients |
| Not checking secondary insurance | Wrong payer billed first, leading to denials | Always ask about and verify coordination of benefits |
| Ignoring prior authorization requirements | Hard denials that are difficult to appeal | Build authorization checks into the checklist |
| Failing to document verification calls | No proof if a dispute arises | Log every call with date, rep name, and reference number |
Documentation Requirements for Eligibility Verification
Good documentation protects your practice if a claim is questioned later. At minimum, keep records of:
-
- Insurance card copies (front and back)
-
- Eligibility response printouts or screenshots from real-time checks
-
- Notes from any phone calls to the payer, including rep name and reference number
-
- Prior authorization numbers and approval dates
-
- Patient consent or acknowledgment of estimated costs
Staff Responsibilities: Who Does What
| Role | Responsibility |
|---|---|
| Scheduler | Collects initial insurance information at booking |
| Front desk staff | Verifies card details, collects copay at check-in |
| Billing/verification specialist | Runs eligibility checks, handles complex cases |
| Practice manager | Audits verification accuracy, trains staff |
| Provider/clinical staff | Confirms procedure codes for prior authorization requests |
Clean Claim Checklist
A “clean claim” is one that gets accepted and paid the first time, without errors or missing information. Eligibility verification is step one in getting there.
| Requirement | Confirmed? |
|---|---|
| Active coverage verified | ✔ |
| Correct patient demographics | ✔ |
| Correct payer ID | ✔ |
| Prior authorization obtained (if required) | ✔ |
| Correct plan and group number | ✔ |
| Coordination of benefits confirmed | ✔ |
| Accurate coding matched to covered services | ✔ |
Denial Prevention Checklist
| Prevention Action | Impact |
|---|---|
| Verify eligibility before every visit | Reduces coverage-related denials |
| Confirm prior authorization status | Prevents hard denials |
| Double-check patient demographic match | Avoids technical rejections |
| Review payer-specific rules regularly | Reduces plan-specific denials |
| Train front desk staff on real-time tools | Improves accuracy and speed |
Billing Software Evaluation Checklist
If you’re shopping for a new practice management or clearinghouse system, look for:
-
- Batch eligibility verification for daily schedules
-
- Integration with your EHR
-
- Clear display of copay, deductible, and coinsurance data
-
- Alerts for prior authorization requirements
-
- Audit trail and reporting features
Frequently Asked Questions
Ideally, before every single visit — not just for new patients. Insurance coverage can change monthly, especially with Medicaid or employer-sponsored plans that shift during open enrollment periods.
Eligibility verification confirms that a patient's insurance is active and outlines general benefits. Prior authorization is a separate approval a payer requires for specific services before they're performed. A patient can have active, verified insurance and still be denied if prior authorization wasn't obtained.
Technically yes, but it's risky. Without verification, you don't know if the service is covered or what the patient truly owes, which can lead to billing disputes, write-offs, or patient dissatisfaction.
It varies by payer, but many responses are only reliable for that specific date of service. Coverage can change day to day, especially for Medicaid, so verifying close to the appointment date is safest.
Contact the patient before the visit to update their insurance information or discuss self-pay options. Proceeding without resolving this often results in a denied claim and an uncollectible balance.